Recycled Night Light craft Materials
- An empty Crystal Light container
- A night light from your local Dollar Store (the real cheap kind shown below)
- A plastic covered large paper clip
- Mod Podge or other glue for decoupage
- Paper or fabric to decoupage the plastic Crystal Light container
- A paint brush for the glue
- Ribbon trim (about 30″ inches)
- Wire cutters
- Razor blade to cut the container
- A small ruler or other straight edge
- A medium sized nail and a hammer to poke two holes in the plastic
- Glue gun
How to Make This Night Light Recycled Craft

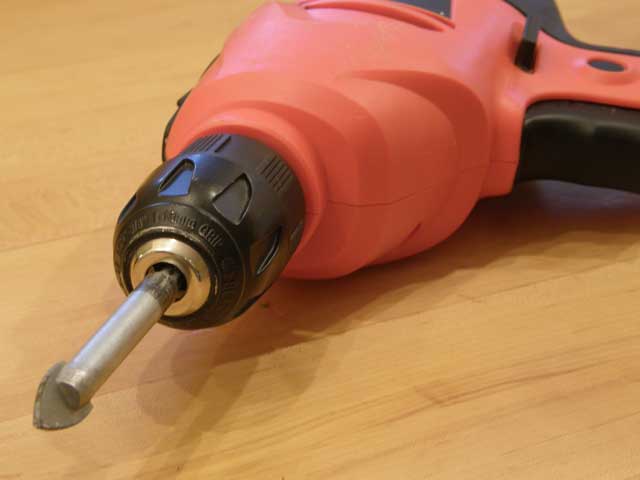
Cut the Crystal Light Container with a Razor Blade
First you need to cut up your Crystal Light (or Wyler’s Light, to be PC about it all) container. In this photo, I was using the tall Wyler’s Light container, or this would also be the same size as the extra large Crystal Light packages (with 6 tubs, not 4).
First I held the ruler straight edge to the side of the container and carefully scored the plastic to slice the container open from top to bottom. I then was able to cut through the container easily (but carefully, because it’s easy to slip on a curved surface). I repeated this step so that I cut out about a one-inch piece from the side of the container. Then I was able to lay the plastic flat on a carboard surface and cut the container into two even pieces, as shown above. If I messed up at all, it was easy to clean up my edges with sturdy kitchen scissors.

Poke Holes in the Plastic with a Nail
Next I poked two small holes into the bottom corners of the plastic with a hammer and nail. I recommend using a larger nail than the one shown above, because I ended up needing to find a screw to twist into the holes to make them a little larger. You need them to be large enough to stick the end of the paper clip through them.

Decoupage with Recycled Tissue Paper
After you have poked the holes into the corners, now is the time to decoupage the plastic however you like. I used tissue paper circles to coordinate with the ribbon in my example at the top. My daughter took the leftover tissue packing paper we get at the dollar store when we buy fragile items, and we used a circle hole puncher to cut out and decoupage her night light.
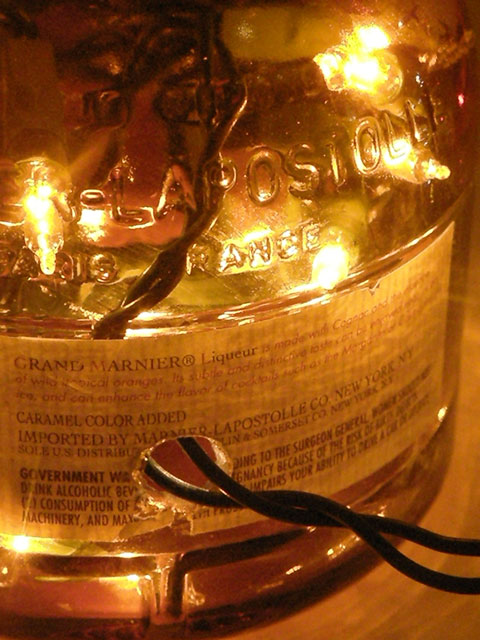
You probably don’t want to use paper from a book or magazine, unless you are happy with the reverse side showing through. Because when the night light is turned on, it really glows through the paper.
Quick decorating tip - you can also use fabric that coordinates with your child’s room decor!
Now you want to unbend a paperclip and wrap it around the base of the night light. Be sure you’re doing this with plastic wrapped wire and around the groove of the night light at the base (made for sliding the plastic cover onto the light). Higher end night lights aren’t nearly as easy to use, as they don’t have this handy groove to hold your wire.
Twist the paper clip around the base with your fingers or with the wire cutters, and then use the wire cutters to make two “L” shaped bends in the paper clip as shown in the second photo. Slip the ends of the paper clip through your holes.
Lastly, you will need to lay a line of glue from your hot glue gun underneath the wires and glue the ends of the paper clip to the back side of the decoupaged container. If you don’t do this, the cover will flop all over the place.
Now you want to cover the edges of your plastic cover with ribbon to hide the wire and make the edges look polished. Start at the back and cover the back two ends with ribbon first, and add enough glue from the hot glue gun around the paper clip to cover it up too.
To put ribbon across the top and bottom, fold over the edge just a bit and glue it in place to give the corners a clean look (like in the inset in the second image above). Then simply glue the ribbon onto the top and bottom edges with the glue gun.
And viola! You are done! Start to finish the craft takes about 30-45 minutes, not including drying time for the decoupage.
Be sure to check out the rest of our recycled crafts and all of our Earth Day activities and printables!


 Here's how: Saw off the bottom of the light bulb screw base using a hacksaw, turning the light bulb evenly. Bulbs with a bayonet base can also be used - in this case, saw off the bottom of the base along the apparent line. Once the base has been cut, insert a thin screwdriver and break the protruding tip of the glass mount, or stem, that holds the filament (be sure to protect your eyes). Then, using a bigger screwdriver, insert it into the glass socket, and give a quick, hard tap to break off the remainder of the mount. Using a rounded file, enlarge the hole and remove the filament. Your light bulb is now empty.
  To make a pair of salt and pepper shakers, hollow out two light bulbs. Protect the light bulb with a piece of cloth and, using a small hammer, lightly flatten the top of the screw base. This will ensure that the caps fit securely. Find two old plastic soda bottle caps and use a knife to remove the plastic disc lining the cap. Then, pierce several holes into the cap using a large nail. A circle of thick felt or wooden rings glued to the bottom of the shakers will stabilize them. Fill with salt and pepper, and then screw the caps on.
  Here are some links to official websites of